Showing posts with label Wedding. Show all posts

Monday, May 30, 2016

Cookie Table Party Favors

Cookies made by the bride's family are a tradition in some Italian families. When my part-Italian daughter married her part-Italian groom, I knew I wanted to ask my mostly-Italian family to bake cookies. They agreed and our cookie table was a hit.

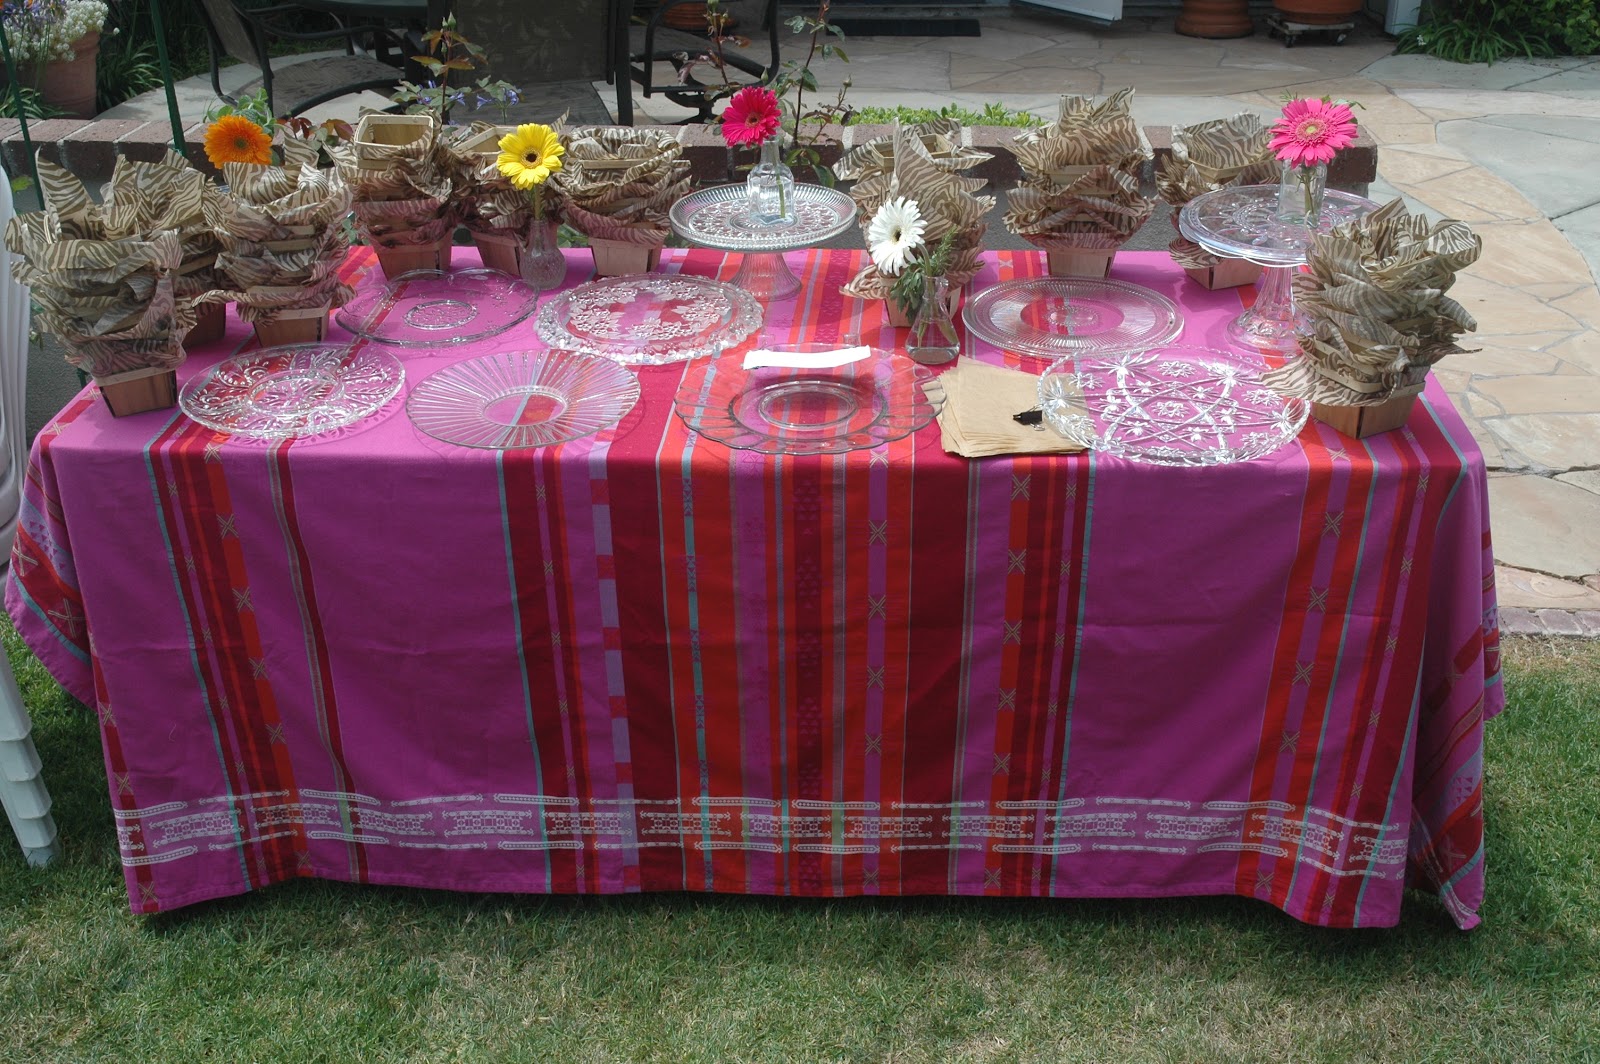
I began collecting glass platters from thrift stores until I had enough. Little berry baskets lined with tissue were the perfect way for each guest to select their cookies to take home. You can find the berry baskets here in several sizes. Happened to have a lot of cream and brown zebra tissue left over from my retail shop - and with a bohemian style wedding, it fit right in.  I also cut little square sheets of tan tissue for guests to grab their cookies with and to put on top of the basket (like a lid.)


The cookie table being set-up on wedding day
You can guess, if you have read my other wedding posts, that I do not have a photo of the cookie table with the cookies!


A small berry basket, lined with tissue, for taking cookies home

Wedding Supplies, Mostly Thrifted


For my daughter's wedding I had about twelve weeks, and a limited budget, to create a beautiful "wedding to remember" and be proud of. It was going to be hand-crafted and I even made her wedding dress. We would be doing everything and purchasing all supplies ourselves, except for renting a few items like tables and chairs. 

I started visiting thrift shops weekly, from Los Angeles to San Diego, for the stuff I wanted. First, it was important to have the plan and know what I was looking for. I decided to collect white coffee cups, flatware, white and cream napkins, tablecloths, punch bowls (to use as salad bowls,) barware, small bottles (to use for vases,) glass carafes (for water,) white plates and clear glass candlesticks (to create pedestals for the cakes,) cookie plates and so on. The hunt was very fun, since I love thrift shopping, and sometimes I had company which made it even more productive since I had extra eyes to find the goods.

This was very labor intensive and I would not recommend doing it if you do
not have help. Not only did I have to wash everything once when it came home from the thrifts, but then again after the wedding. The flatware was the worst, as you can imagine. Especially since I let the pieces sit in a bucket of water for days and days!

We purchased new metal trash cans with lids to use to transport the items, and to use for trash cans at the wedding, and then to store everything again afterwards. 


The bride and groom's table. I found the pretty flower-shaped green plates, bowls, glasses and napkins just for their table. They used family heirloom gold-plated flatware.


The overview of the table set-up. Two long tables stretch the length of the green belt, with two smaller tables for the wedding party and their guests. The bride and groom have their own table complete with hand-crafted letters on their chairs and a vintage bed spread used as a table cover. The guest chairs were used for the ceremony and then carried over to the tables.


We made the pedestals with different sized white plates glued (not just plain glue) onto clear glass candlesticks. They have been so great to have around (I think I made fourteen of them!) and only one has broken in a couple of years. Use an epoxy and be sure your plate has a flat bottom and the candlesticks have a nice flat top that will be substantial enough to hold the plate. The key is finding the center point on the plate and then placing the candlestick centered over it - draw around the candlestick and place the glue there. Let dry overnight. I found several domes that came with cheese boards (which we used for the cheese and fruit spread) and love to use them in the kitchen when I bake.


The cakes on their pedestals. We decided to have 7 different cakes rather than one big wedding cake. The couple cut the "Mother Lode" cake from Claim Jumper.


The beakers were used for the water ceremony. I collected several and only used three.


I love little bottles. Some of these were vases, some were oil and vinegar carafes, but most were little bottles. All collected while thrifting. I used them all over the tables with flowers and fresh sprigs of herbs.


Gerbera's and herbs in the little jars. We also had small jelly jars of jelly beans for guests to take home. The runner is vintage 60s wallpaper was stashed in grandma's attic (I remember it hanging in her bathroom.) I cut it into long, narrow pieces to use down the center of the tables.

Carafes and bottles were placed on the tables filled with water. We also had additional water available with a ceramic container and water stand, where water bottles could be refilled if need be. The wedding and reception was in an open green space and we needed a source for fresh drinking water.  
We served salad in large punch bowls with tongs (which I purchased new at a restaurant supply house) - it was tossed and passed down the long tables, family style. We had breadsticks in jars on the table. They are nice for adding some height.


The punch bowls came with cups that I didn't really plan to use. Then I realized they would be perfect to hold the votive candles. We used unscented soy votives and they melt, so the cups were a great option. We also used the punch cups for salt on the tables. Pepper grinders were also placed with each salt cup.


Sometimes when you go looking for something, you get lucky. And I was very lucky to keep finding enough (150) clean white and cream linen napkins. I mix and matched them on the tables. They were ready to go with the flatware inside, and tied with green paper ribbon. Which we did on my crafting day with family and friends a few weeks before the wedding.

The glasses I selected were not too delicate and on the short side. Tall glasses mean the beverages will be gone faster! These were for lemonade and sangria. Ice cold beer and soda were available in bottles.

White coffee mugs are in great supply in thrift stores and I had no problem finding enough in time for the wedding. I selected large cups or mugs that didn't need a saucer.


We stacked them up on the hot beverage bar. Instead of preparing coffee, we had several large urns with hot water. Coffee (Starbucks Via packets), tea bags, and hot cocoa were sure available.


One of the items I purchased new were shot glasses from IKEA. At the price they sell for there, it was not worth the hunt at the last minute to find enough thrifting. We decided to add cold soup shots as an appetizer with just a few weeks to go. I love these and we use them a lot for different things. Dip with carrot / celery sticks - and milk shots with cookies were two recent party uses.


A menu was placed at each setting. It's nice to know what the evening holds when you are hungry after traveling and the ceremony!

Wednesday, February 27, 2013

The Bride's Bouquet and Wedding Party Florals


The bridal bouquet included roses, succulents, seeded eucalyptus, black berries,
rosemary sprigs, brunia silver pods, small pinecones, feathers, and mini antlers.
One of the many hats I wore for this wedding was that of floral designer. I've never had any real training in floral design, but I know enough about fresh flowers and other materials to be able to do a few things.

We actually went to see a professional floral designer for a bid - but when the bride kept saying "winter white" and soft green (complete with photo examples) and she kept showing us red arrangements, I knew that I might need to step in and take charge of the flowers too.

It was fine with me in the end, because I do like to be in control of all design details, if possible!

The bride's gown was a very unique shade and we noticed right away that many cream roses didn't look good against the fabric. So on my first trip to the floral trade center I had a fabric swatch to shop with.

We found a pink tinged rose called white majolica that looked perfect with the dress. I even made a sample bouquet for the last dress fitting, just to be sure.
The bouquet was hand-tied with ribbon. What a fun bride - she was a dream to work with. 

We created the bouquet on the morning of the wedding and many of the roses opened more than I would have preferred,  but it didn't really matter - it turned out so nice and exceeded my expectations. I think I really lucked out!
A friend of the bride gave her a locket with a photo of her grandmother and
we attached it to the side of the bouquet that faced the bride. She could glance down at it
and feel that her grandmother was with her on this special day.
Photo by Leesa King
The groom's boutonnière included a white majolica rose, a succulent, and seeded eucalyptus. 

Using the same materials, each boutonnière was created a bit different for the seven groomsmen. Two of the bride's aunts arrived in time to help me with the florals on the morning of the wedding. 
They were tied with burlap ribbon and twine.


The bridesmaid's carried lanterns instead of bouquets. We adorned them with 
burlap ribbon, roses, pinecones, pine sprigs, and seeded eucalyptus. We used flameless tea lights so there was no worry about the flame going out as they walked down the pathway.

The maid-of-honor carried a bigger lantern,
but it had the same flowers as the six other lanterns the bridesmaid's held.

The entire wedding party.  Beautiful.
All photos by John Robert Woods Photography in Orange County, CA unless otherwise noted.

Thursday, February 21, 2013

Sewing The Bridal Headpiece

The wait is over (and it was worth the wait) for receiving the professional photographs of the early December wedding of  Mike & Lindsey. John Robert Woods did an amazing job shooting the wedding and now I have a lot of new blog material to cover.

The beautiful bride wearing her custom made headpiece
John Robert Woods Photography
I'm starting with one of the last DIY projects we worked on. We created the bride's headpiece and the maid-of-honor's sash just two nights before the wedding. 
The bride's gown had many beautiful flowers made from silk.
John Robert Woods Photography
When we saw the sash below at Jinnys Bridal Center we knew we wanted to use it somehow. The first time they brought it out was to show the maid-of-honor who had brought her dress to try on while the bride was in her gown. It looked amazing with her dress. The bride really liked it too, but her dress had enough details with all of the beautiful flowers. On the next visit to the bridal shop, they brought it out again for us to see. This time the bride was interested again - she wanted to wear it in her hair.  It had too much going on for a headpiece alone, and we decided it could serve double-duty as a sash for the maid-of-honor, with the largest flower removed to use for the bridal headpiece.

The photo we snapped of the sash to "think about it."
We couldn't forget it and the bride purchased it on her next visit.
Here's a photo from the Enzoani website. It's called the Diana Belt.
The sash ribbon is the same color in this pic, but some of the other details may
have a slightly different color way.
The bride ordered black "birdcage" netting online for her headpiece and she had a long black satin ribbon. We went to work.

John Robert Woods Photography
This was an expensive sash, so I was a little worried to begin to  tear  take it apart. But I did, very gently, remove the largest flower and some of the extra silk fabric from the sash. I stitched it onto the black ribbon, along with the netting, and after a few adjustments we had a gorgeous and very unique, one-of-a-kind headpiece.

John Robert Woods Photography
One day while shopping for wedding items, the bride's mother and I found a big rust colored flower pin at a consignment shop in Fallbrook and thought it might work for the sash. I bought the stones for the middle of the flower at the craft store. A few stitches later and the sash was reborn into another unique one-of-a-kind accessory.

The sash really turned a beautiful dress into a stunning gown for the maid-of-honor.  All the girls looked amazing in their own dress selections. I love the look of dresses that are coordinated, but not matching.
John Robert Woods Photography
Beautiful . . .
John Robert Woods Photography
One of the reasons the rusty color worked for the sash was because we were using vintage amber-colored bottles as part of the table decorations. We also used pinecones, feathers and pods that brought the color to the tables. And, of course, the sash already had a rusty-slightly brownish-green color velvet sash. Haha, I can't think of a better way to describe the color of that ribbon, even if it is not very designer-like of me.

The Sweetheart Table
John Robert Woods Photography

Wednesday, January 9, 2013

Wood Burned Table Numbers

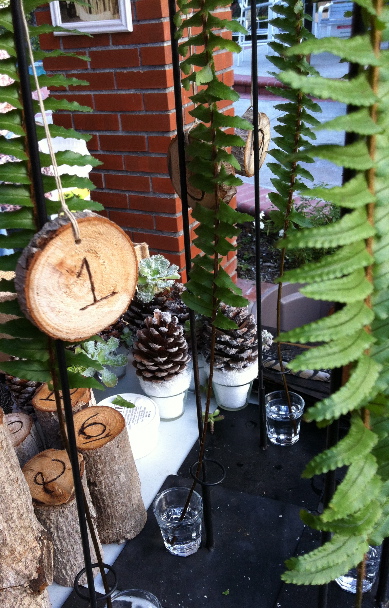
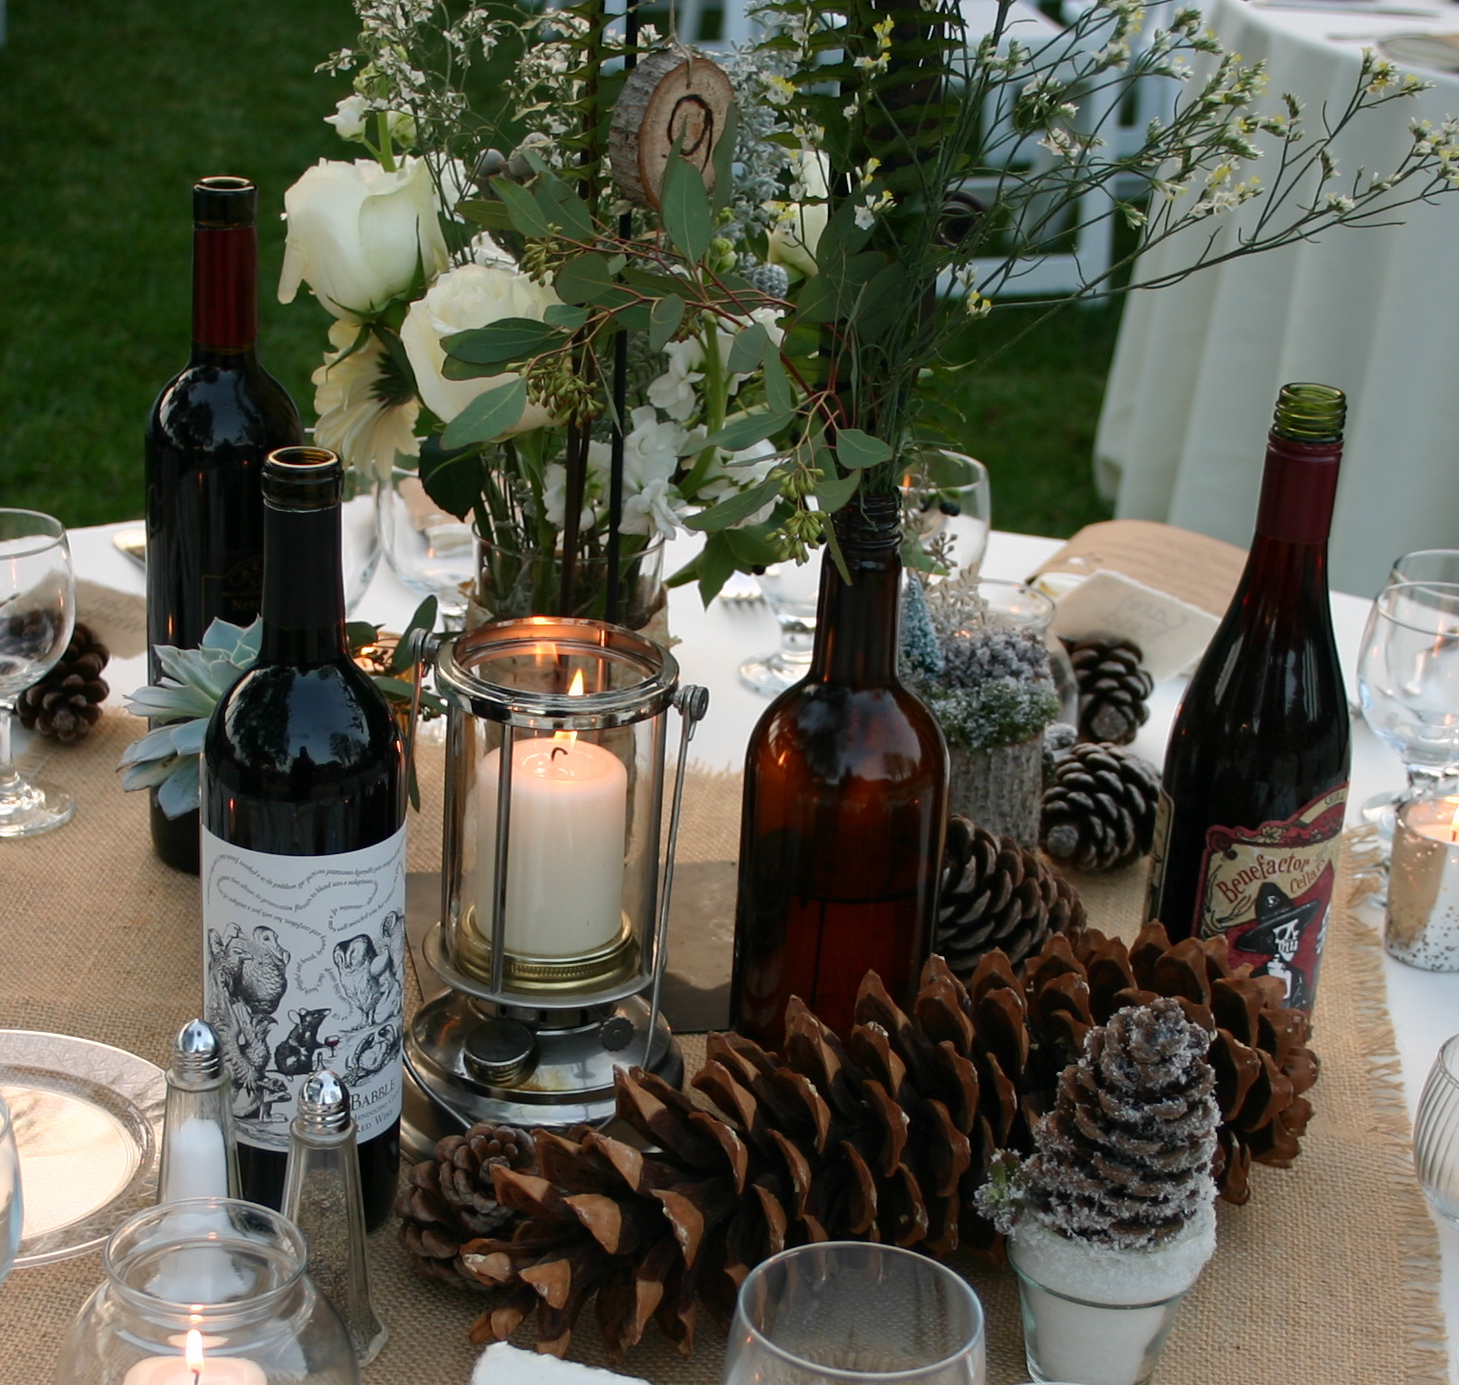
For the woodsy winter wedding we used wood slabs in many ways

Here is the bride-to-be wood burning table numbers into the pieces of wood I cut

Using my husband's power tools, I cut wood discs from pieces in our wood pile

I cut thin slabs and taller pieces for many uses including the table numbers,
the little table-scapes, and to hold a cupcake
 My husband cut holes into some of the thin slabs so we could put string through to hang

Half of the tables had hanging table numbers that were attached to a tall flower holder

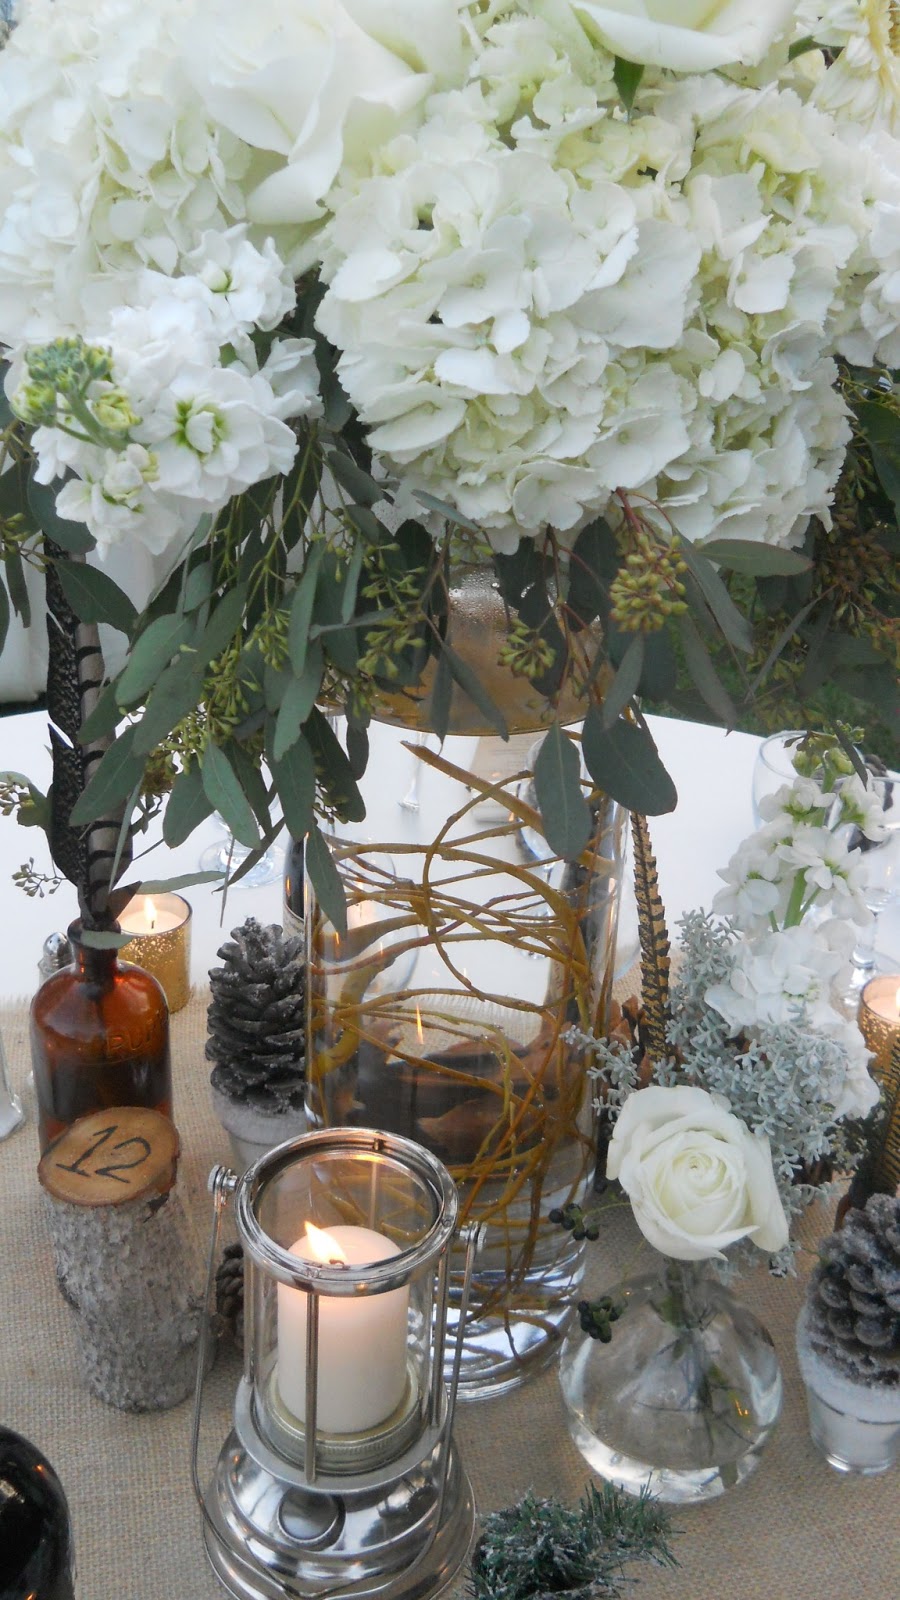
 The other half of the tables had the taller piece of wood that sat next to the floral centerpiece


The bride and groom's table had a tall piece of wood with their initials carved into a heart

 Two more photos (above and below) showing our other uses of the little wood slabs