Showing posts with label DIY. Show all posts

Wednesday, March 23, 2016

All about CRAFT


Hello, It's me, (oh wait I'm not Adele!) but it has been a long time since I've written a blog so I might be a bit rusty! Well in all honesty, I was always a bit rusty with my blog writing. Never did plan on writing a daily or even a weekly blog, just wanted to write now and then. So here I am a few years later with a new adventure to talk about. After finally admitting to myself (and others) that I was really retired from my design business of 25+ years, I wasn't sure what the future held for me, creatively speaking. 

And, then it happened. Something new, fun, and creative sprung-up out of nowhere one night when I gathered with some friends to craft. Well, "nowhere" was years in the making. Here is the back story.

At Home on Main Street was my retail home/gift store on Main in downtown Fallbrook (in business from 2003-2009.) I loved the shop and the years I was on Main Street.  If it looks slightly familiar it is now the Fallbrook Brewery!
The storefront  
I was very interested in showcasing the work of local artisans in the shop. I wanted handcrafted and beautiful things. Two local artisans, Karen Walkup and Denise Haynes-Port, had their items in my shop - and they also became my friends.

One day Karen came into the shop to show me her original photographs of Italy (Picture Italy) and explained to me how she was printing them on thick foam core - and on big canvas pieces. I fell in love with her work immediately and wanted a collection in the shop.  She's talented in so many ways and soon went on to create a watercolor/mixed-media card group called Ransom Notes by Karen Walkup. I also carried her card creations in the shop.
One of Karen's many Ransom Notes cards
In her newest line (below) you can select hand-drawn cards with original art to color with pencils, markers or watercolor. Karen spent much of her time working with alzheimer's patients who loved having a creative outlet for a few hours in their day. After years of helping others, Karen is ready to have some fun with her art and engage with friends more often.


Denise with her hand-twisted bubble wand!

At the same time Denise Haynes-Port was a duo with her sister (Lori) and together their line of LilyGirl Jewelry was a hit all over San Diego and beyond. It was a popular item in my shop as well. In fact, when I started At Home on Main Street my focus was on home accessories, furniture, and art. By the time I had closed the best selling items were clothing and jewelry! Denise went on to create her own line, selling at craft fairs, and hosting workshops in her VintageSister Studio. She can twist and wrap wire like no other!
Bloom Vases by Vintage Sister Studio
After I closed the shop . . . when the three of us would get together, the conversation always came around to crafting and art and "How could we do something together?" We were all making stuff (I had kept working on SewEcoChic, a line I started in the shop.)  Lots of ideas were discussed. Should we sell our wares together? Perhaps in a booth at a traveling craft show, or by starting a hometown craft fair (all three of us helped start the Village Artisan Faire here in town) and even "What about opening a co-op place so others could craft together?" You get the idea. 

Lulu (below) wearing a Sew Eco Chic hair accessory


Olive (above) is wearing a Sew Eco Chic crown

Back to the craft night I mentioned in the beginning . . . the three of us were in Denise's studio because she'd invited friends over to make Valentine's! We decided then and there to work spend time together and share our talents with others in an environment meant to be relaxing, stress-free, and above all FUN! 

CRAFT-pop-up-Workshops unique approach is to create workshops showcasing our talents in art, jewelry, sewing - and in many other crafts we'll develop. We will typically show three projects that are easily doable in one 3-hour session. Each of us creates something to go with the theme of that workshop. Our ideas are endless and we hope to be doing this for years and years to come!

The "pop up" in our name is because we do not have just one place we will be crafting. Our goal is to partner with others to bring these workshops to you in very affordable ways. We each have home studios and will host workshops now and then, but we like getting out in the community to meet and mingle the most. 


Marie, Denise, Karen at The Vineyard 1924
You'll find us coming up at Ranch Of The Rhinestone Gypsies and Myrtle Creek Botanical Gardens and Nursery in April  . . . and in true fashion, you will see us popping-up all over town for complimentary coloring sessions (like we did a few Saturday's ago at Button and Burlap (below) and last Saturday at The Vineyard 1924 (above).


Check our Facebook EVENTS page CRAFT pop up Workshops Events to see when our workshops are scheduled and what we'll be creating. And you can follow us on Instagram too!

Wednesday, February 27, 2013

The Bride's Bouquet and Wedding Party Florals


The bridal bouquet included roses, succulents, seeded eucalyptus, black berries,
rosemary sprigs, brunia silver pods, small pinecones, feathers, and mini antlers.
One of the many hats I wore for this wedding was that of floral designer. I've never had any real training in floral design, but I know enough about fresh flowers and other materials to be able to do a few things.

We actually went to see a professional floral designer for a bid - but when the bride kept saying "winter white" and soft green (complete with photo examples) and she kept showing us red arrangements, I knew that I might need to step in and take charge of the flowers too.

It was fine with me in the end, because I do like to be in control of all design details, if possible!

The bride's gown was a very unique shade and we noticed right away that many cream roses didn't look good against the fabric. So on my first trip to the floral trade center I had a fabric swatch to shop with.

We found a pink tinged rose called white majolica that looked perfect with the dress. I even made a sample bouquet for the last dress fitting, just to be sure.
The bouquet was hand-tied with ribbon. What a fun bride - she was a dream to work with. 

We created the bouquet on the morning of the wedding and many of the roses opened more than I would have preferred,  but it didn't really matter - it turned out so nice and exceeded my expectations. I think I really lucked out!
A friend of the bride gave her a locket with a photo of her grandmother and
we attached it to the side of the bouquet that faced the bride. She could glance down at it
and feel that her grandmother was with her on this special day.
Photo by Leesa King
The groom's boutonnière included a white majolica rose, a succulent, and seeded eucalyptus. 

Using the same materials, each boutonnière was created a bit different for the seven groomsmen. Two of the bride's aunts arrived in time to help me with the florals on the morning of the wedding. 
They were tied with burlap ribbon and twine.


The bridesmaid's carried lanterns instead of bouquets. We adorned them with 
burlap ribbon, roses, pinecones, pine sprigs, and seeded eucalyptus. We used flameless tea lights so there was no worry about the flame going out as they walked down the pathway.

The maid-of-honor carried a bigger lantern,
but it had the same flowers as the six other lanterns the bridesmaid's held.

The entire wedding party.  Beautiful.
All photos by John Robert Woods Photography in Orange County, CA unless otherwise noted.

Thursday, February 21, 2013

Sewing The Bridal Headpiece

The wait is over (and it was worth the wait) for receiving the professional photographs of the early December wedding of  Mike & Lindsey. John Robert Woods did an amazing job shooting the wedding and now I have a lot of new blog material to cover.

The beautiful bride wearing her custom made headpiece
John Robert Woods Photography
I'm starting with one of the last DIY projects we worked on. We created the bride's headpiece and the maid-of-honor's sash just two nights before the wedding. 
The bride's gown had many beautiful flowers made from silk.
John Robert Woods Photography
When we saw the sash below at Jinnys Bridal Center we knew we wanted to use it somehow. The first time they brought it out was to show the maid-of-honor who had brought her dress to try on while the bride was in her gown. It looked amazing with her dress. The bride really liked it too, but her dress had enough details with all of the beautiful flowers. On the next visit to the bridal shop, they brought it out again for us to see. This time the bride was interested again - she wanted to wear it in her hair.  It had too much going on for a headpiece alone, and we decided it could serve double-duty as a sash for the maid-of-honor, with the largest flower removed to use for the bridal headpiece.

The photo we snapped of the sash to "think about it."
We couldn't forget it and the bride purchased it on her next visit.
Here's a photo from the Enzoani website. It's called the Diana Belt.
The sash ribbon is the same color in this pic, but some of the other details may
have a slightly different color way.
The bride ordered black "birdcage" netting online for her headpiece and she had a long black satin ribbon. We went to work.

John Robert Woods Photography
This was an expensive sash, so I was a little worried to begin to  tear  take it apart. But I did, very gently, remove the largest flower and some of the extra silk fabric from the sash. I stitched it onto the black ribbon, along with the netting, and after a few adjustments we had a gorgeous and very unique, one-of-a-kind headpiece.

John Robert Woods Photography
One day while shopping for wedding items, the bride's mother and I found a big rust colored flower pin at a consignment shop in Fallbrook and thought it might work for the sash. I bought the stones for the middle of the flower at the craft store. A few stitches later and the sash was reborn into another unique one-of-a-kind accessory.

The sash really turned a beautiful dress into a stunning gown for the maid-of-honor.  All the girls looked amazing in their own dress selections. I love the look of dresses that are coordinated, but not matching.
John Robert Woods Photography
Beautiful . . .
John Robert Woods Photography
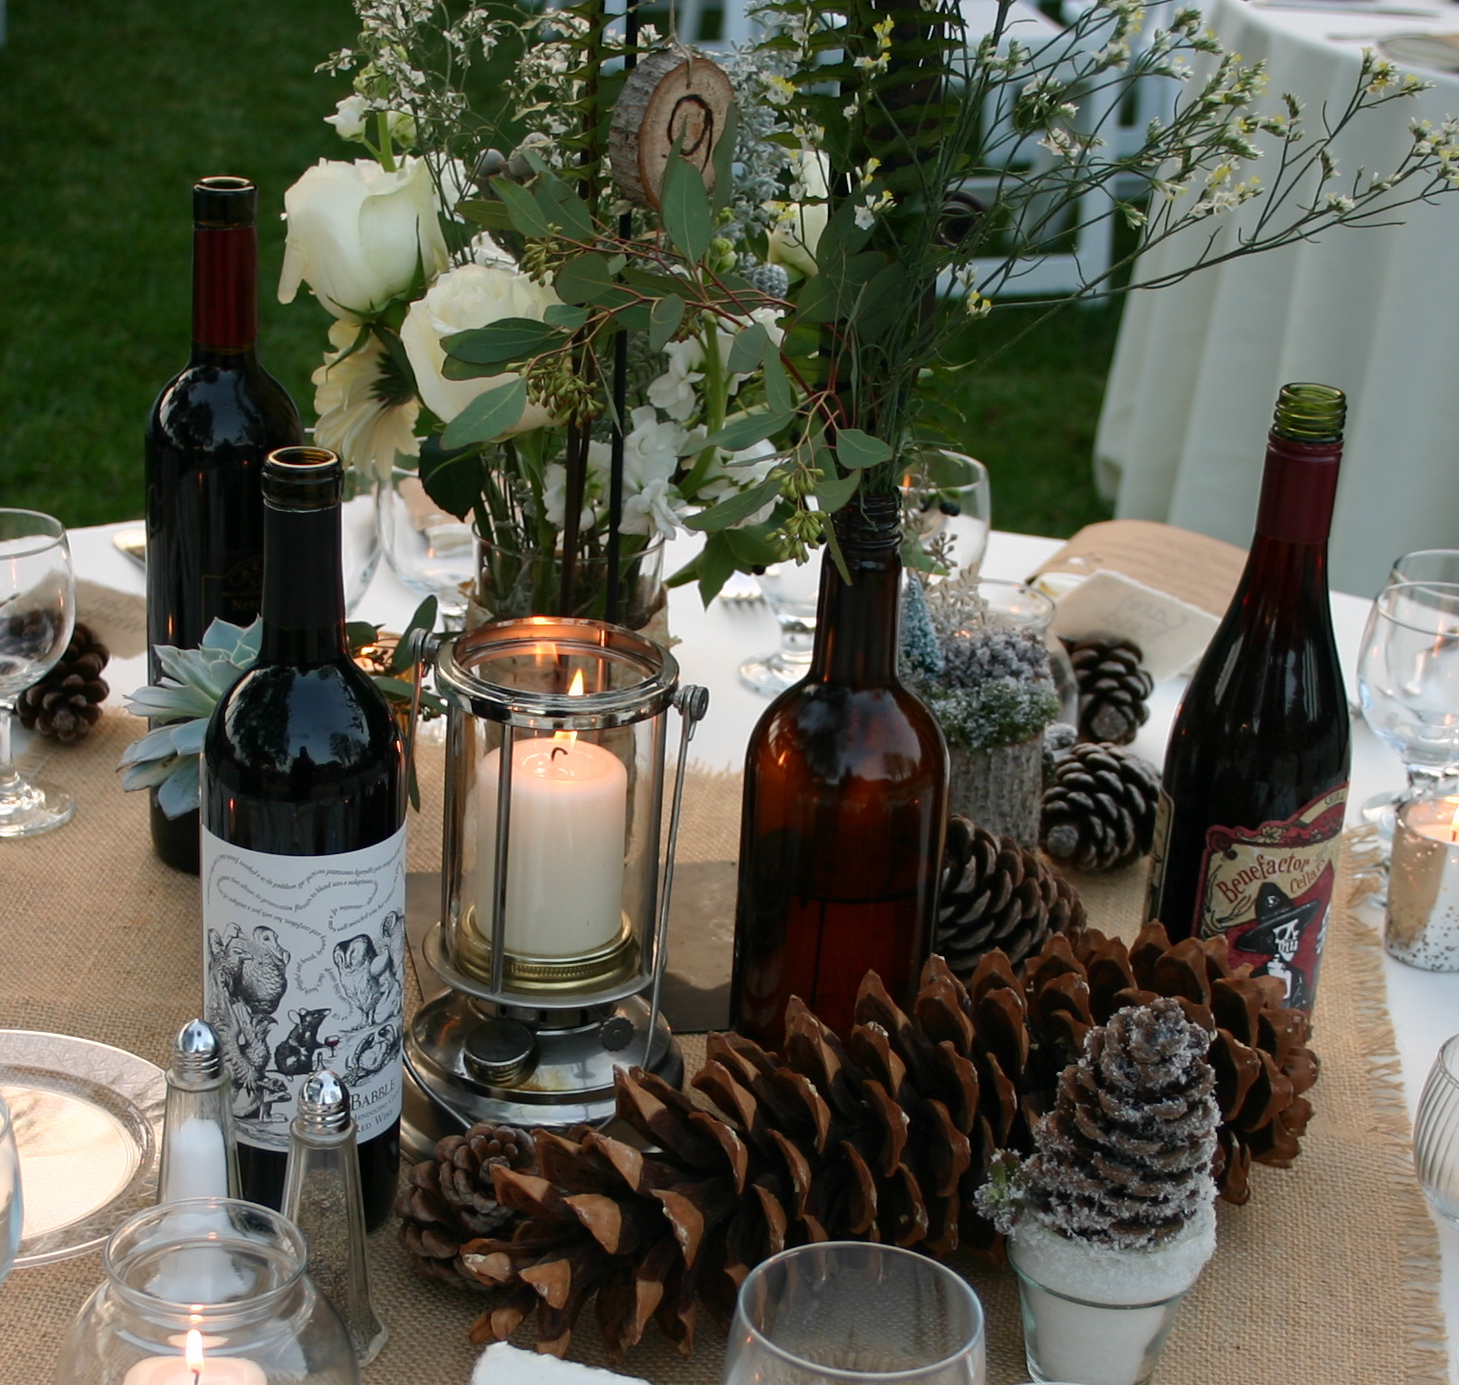
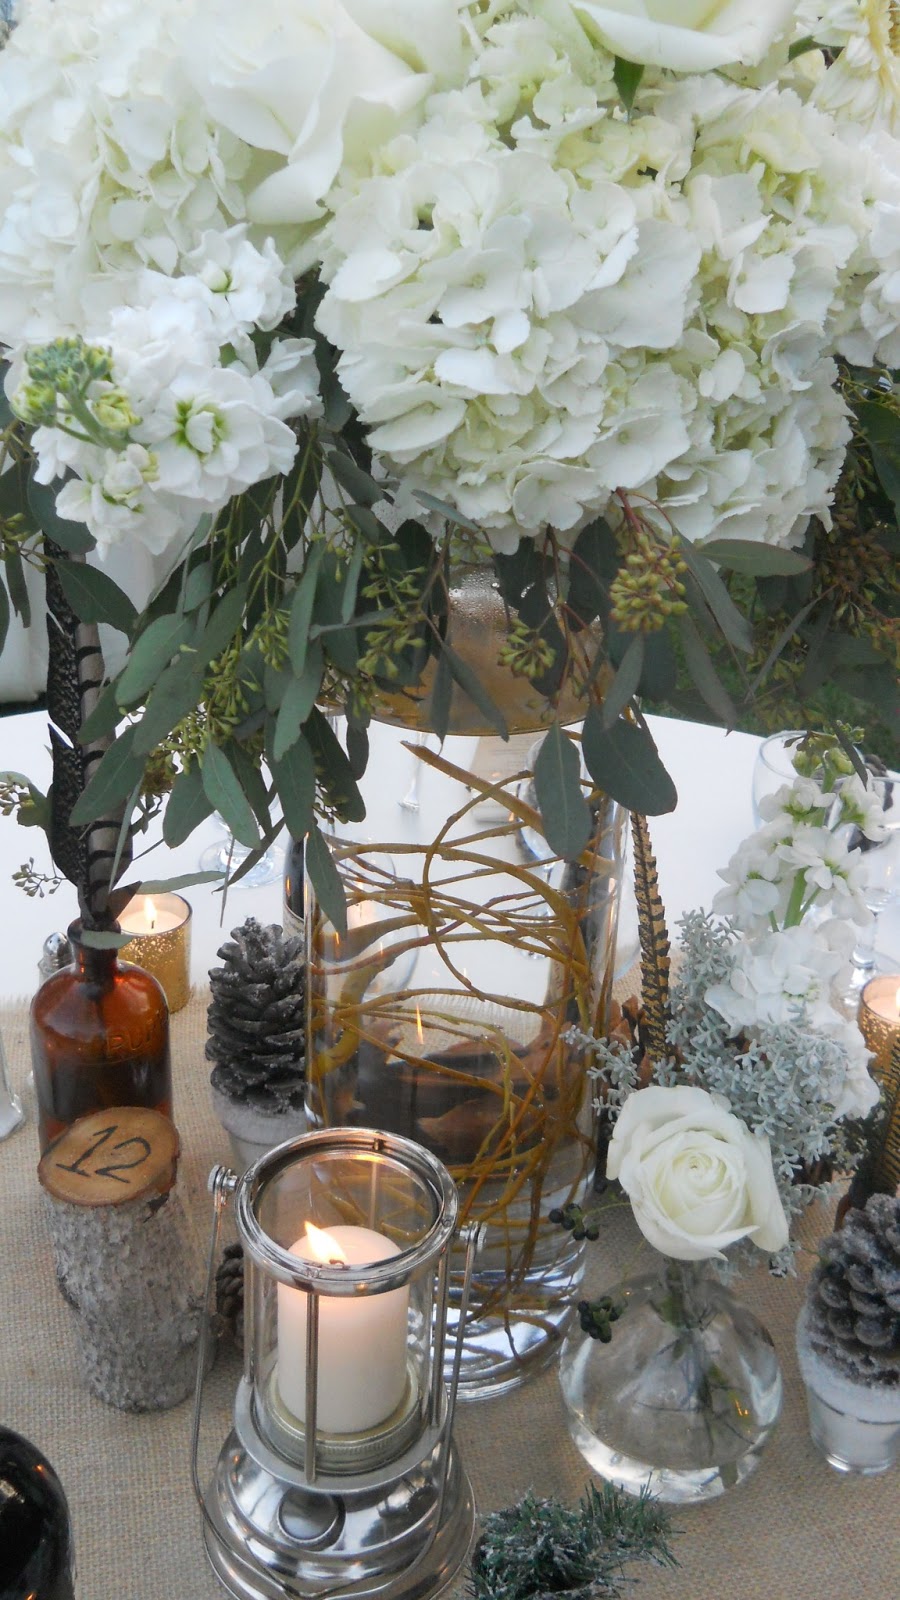
One of the reasons the rusty color worked for the sash was because we were using vintage amber-colored bottles as part of the table decorations. We also used pinecones, feathers and pods that brought the color to the tables. And, of course, the sash already had a rusty-slightly brownish-green color velvet sash. Haha, I can't think of a better way to describe the color of that ribbon, even if it is not very designer-like of me.

The Sweetheart Table
John Robert Woods Photography

Wednesday, January 9, 2013

Wood Burned Table Numbers

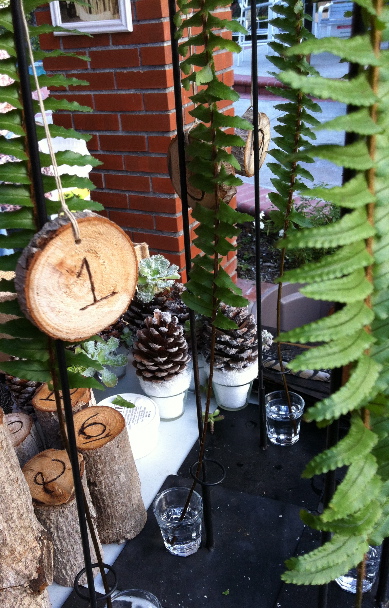
For the woodsy winter wedding we used wood slabs in many ways

Here is the bride-to-be wood burning table numbers into the pieces of wood I cut

Using my husband's power tools, I cut wood discs from pieces in our wood pile

I cut thin slabs and taller pieces for many uses including the table numbers,
the little table-scapes, and to hold a cupcake
 My husband cut holes into some of the thin slabs so we could put string through to hang

Half of the tables had hanging table numbers that were attached to a tall flower holder

 The other half of the tables had the taller piece of wood that sat next to the floral centerpiece


The bride and groom's table had a tall piece of wood with their initials carved into a heart

 Two more photos (above and below) showing our other uses of the little wood slabs


Thursday, December 27, 2012

Luminarias

It is so hard to have to wait weeks and weeks to see the professional photographs of a wedding when you want to blog about each and every detail . . . hard as it is, I understand the need to be patient.

In the mean time I've been blogging about some small stuff. I don't know if the pro got a close-up of the luminarias we placed around the pool - if he did, I will add it later in the overall wedding album post.
This photo shows the reflection from the lights in bushes - so pretty

These luminarias were inspired by the ones I saw online (Martha Stewart Weddings) using gold doilies. In these photos you cannot tell we even used doilies, but the lacy pattern showed through the bag and added a pretty touch to an ordinary paper bag luminaria. I just happened to have a few packages of vintage gold doilies and I was so happy that I did because you normally only see white ones in the stores (might be able to order gold online.) We used white bags in two sizes and white votives.

Luminarias in misty weather do not always work because the bags can collapse in the dew. I thought it would be worth the try anyway, and decided not use sand in the bottom of the bag to place the votive on. Sand holds moisture that could aid in the bags getting wet. We went with a glass votive holder instead and it worked - not one bag collapsed in the cool night air.

They looked so beautiful around the pool and they are not difficult to make yourself. 
A fun photo - not sure if this was from trying flash or not
New photo by John Robert Woods Photography
John Robert Woods Photography

Thursday, December 13, 2012

Filling Glass Ornaments

There is no shortage of what you can do with clear glass ornaments but this project is fun, simple, and inexpensive. You can even find the empty glass ornaments in thrift stores – or you can purchase new ones in craft stores.


I was going to use these filled balls on a table for my granddaughter's birthday party, but after finding a pink Christmas tree, I hung them on it instead.

You need cardstock paper in your choice of colors and die-cut punches to make the shapes. Use several colors in your color scheme, or try different shades in one color group for a monochromatic look.


After trying lots of shapes I found that ones shaped like a flower, a hand, or a snowflake worked the best. The heart and star did not work as good because they are rather “flat” and do not have petals or fingers that give the shapes dimension.


 Simply cut out a lot of shapes and fill the balls - bending the cutout slightly to give it some depth when inside the ball.


Take off the top of the ball. Be careful if the glass balls have a rough cut mouth so you do not cut yourself as you push the cutouts through the hole. I had to use a tweezers to fill some of the balls.

Pushing the cut-outs through the opening - use tweezers if the mouth is sharp


So simple and so fun!